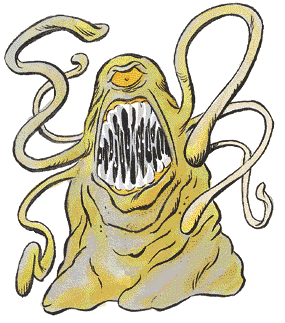
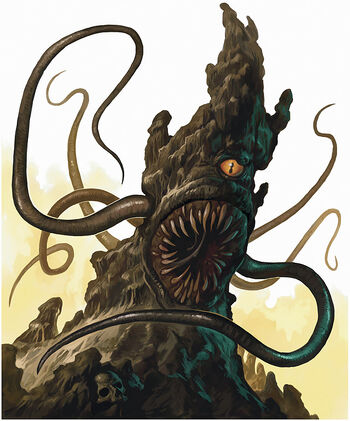
The roper is a silly looking monster from d&d. Basically it is the love-child of a squid and a stalagmites.
The older is the art, the sillier it looks. In more recent time the artists tried to make him a little more cool, with mixed result.
Don't belive me? Look at it.
The miniatures have the same problem, some are pretty good, some are silly.
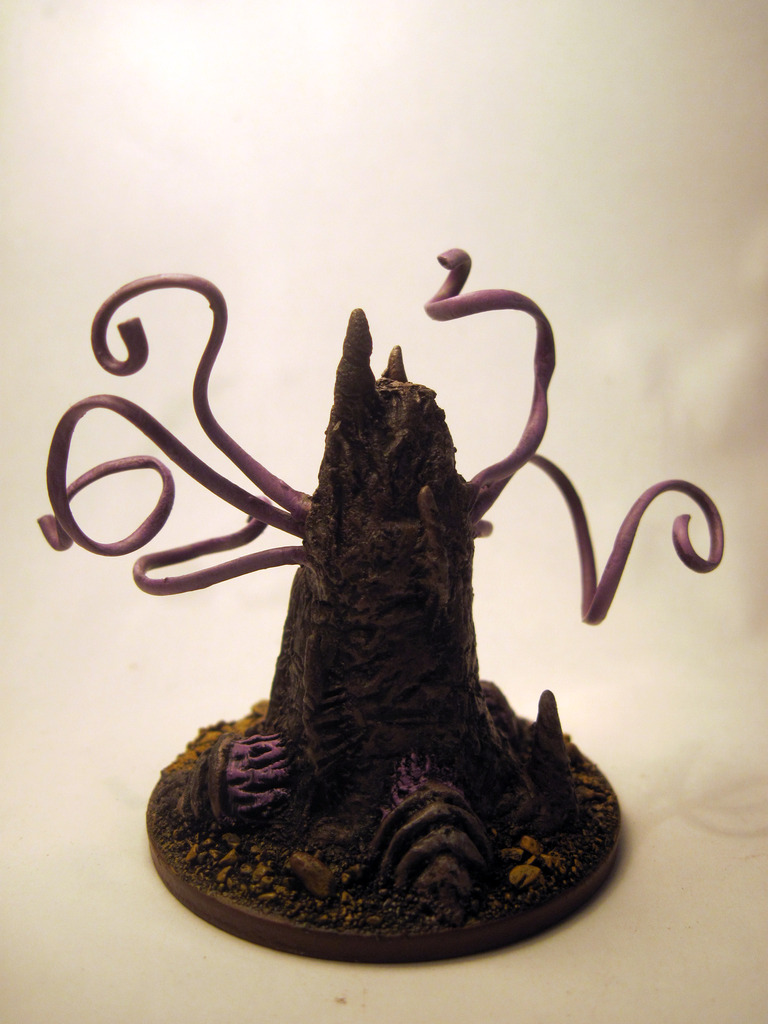
Fortunately it is very easy to make one, in the end it is a rock with an eye and a big mouth.
Take this as a simple tutorial:
Step 1, the materials.
One 2-inch washer as the base, a cheap putty, a small bead for the eye, wires for the tentacles, a toothpick to sculpt (not shown in photo), a ball of tinfoil or a rock for textures (not shown in photo) and a cone of tinfoil as the main body.
Step 2: putting everything together.
Glue the pieces together to have the main shape of the creature.
Step 3: sculpting.
Unfortunately I have no photos for this part but here some advices.
Please consider I wanted the roper to be fully made of rock, so no organic parts, except the eye.
Cover the tinfoil with a fine layer of putty and use a stone or more tinfoil to textuirize it.
Make cones of milliput and arrange them around the mouth. In my case in two rows.
Try to be random, in the end this beast should look as a stone. Add some small stalagmites around.
The eyelid is the only part you need to be careful, you don't want to lost that eye :)
The roper should have no feet, I think it's a little stupid, so I add 3 stumpy appendages, again, they are milliput cones.
Step 4: twist and turn.
Twist the tentacles as you like, you can round the tips with more milliput if you like, I like them flat.
Step 5: flock.
Maybe with sand or stone. As you like.
Step 6: paint.
This model is great for drybrush. If you have a diorama, color it in the same color of the surrounding rocks and use a more bright color only on the eye and those nasty tentacles.
And that's it.
I know, not a very detailed tutorial, but this beast is easy to make if you don't want to sculpt a realistic mouth. And in my opinion it is more terrifying in this way.
If you want to go a step more, you can make a rock prop for this guy, and change it to the fly with the miniature to surprise your players.